How to Install Electric Fence for Cattle: A DIY Guide
Planning Your Fence & Choosing the Right Materials
A reliable electric fence begins with a solid plan. Before you buy any materials, take the time to walk your property. Smart planning now will save you countless headaches later.
By carefully considering your layout, energizer, posts, and wire, you set the foundation for a system that works efficiently for years to come.
Mapping Your Fence Line and Clearing the Path
First, map out exactly where your fence will run. Use stakes and string to create a visual guide. This helps you plan for corners, gates, and any dips or rises in the terrain. Consider if you need a permanent perimeter fence or flexible interior paddocks for rotational grazing.
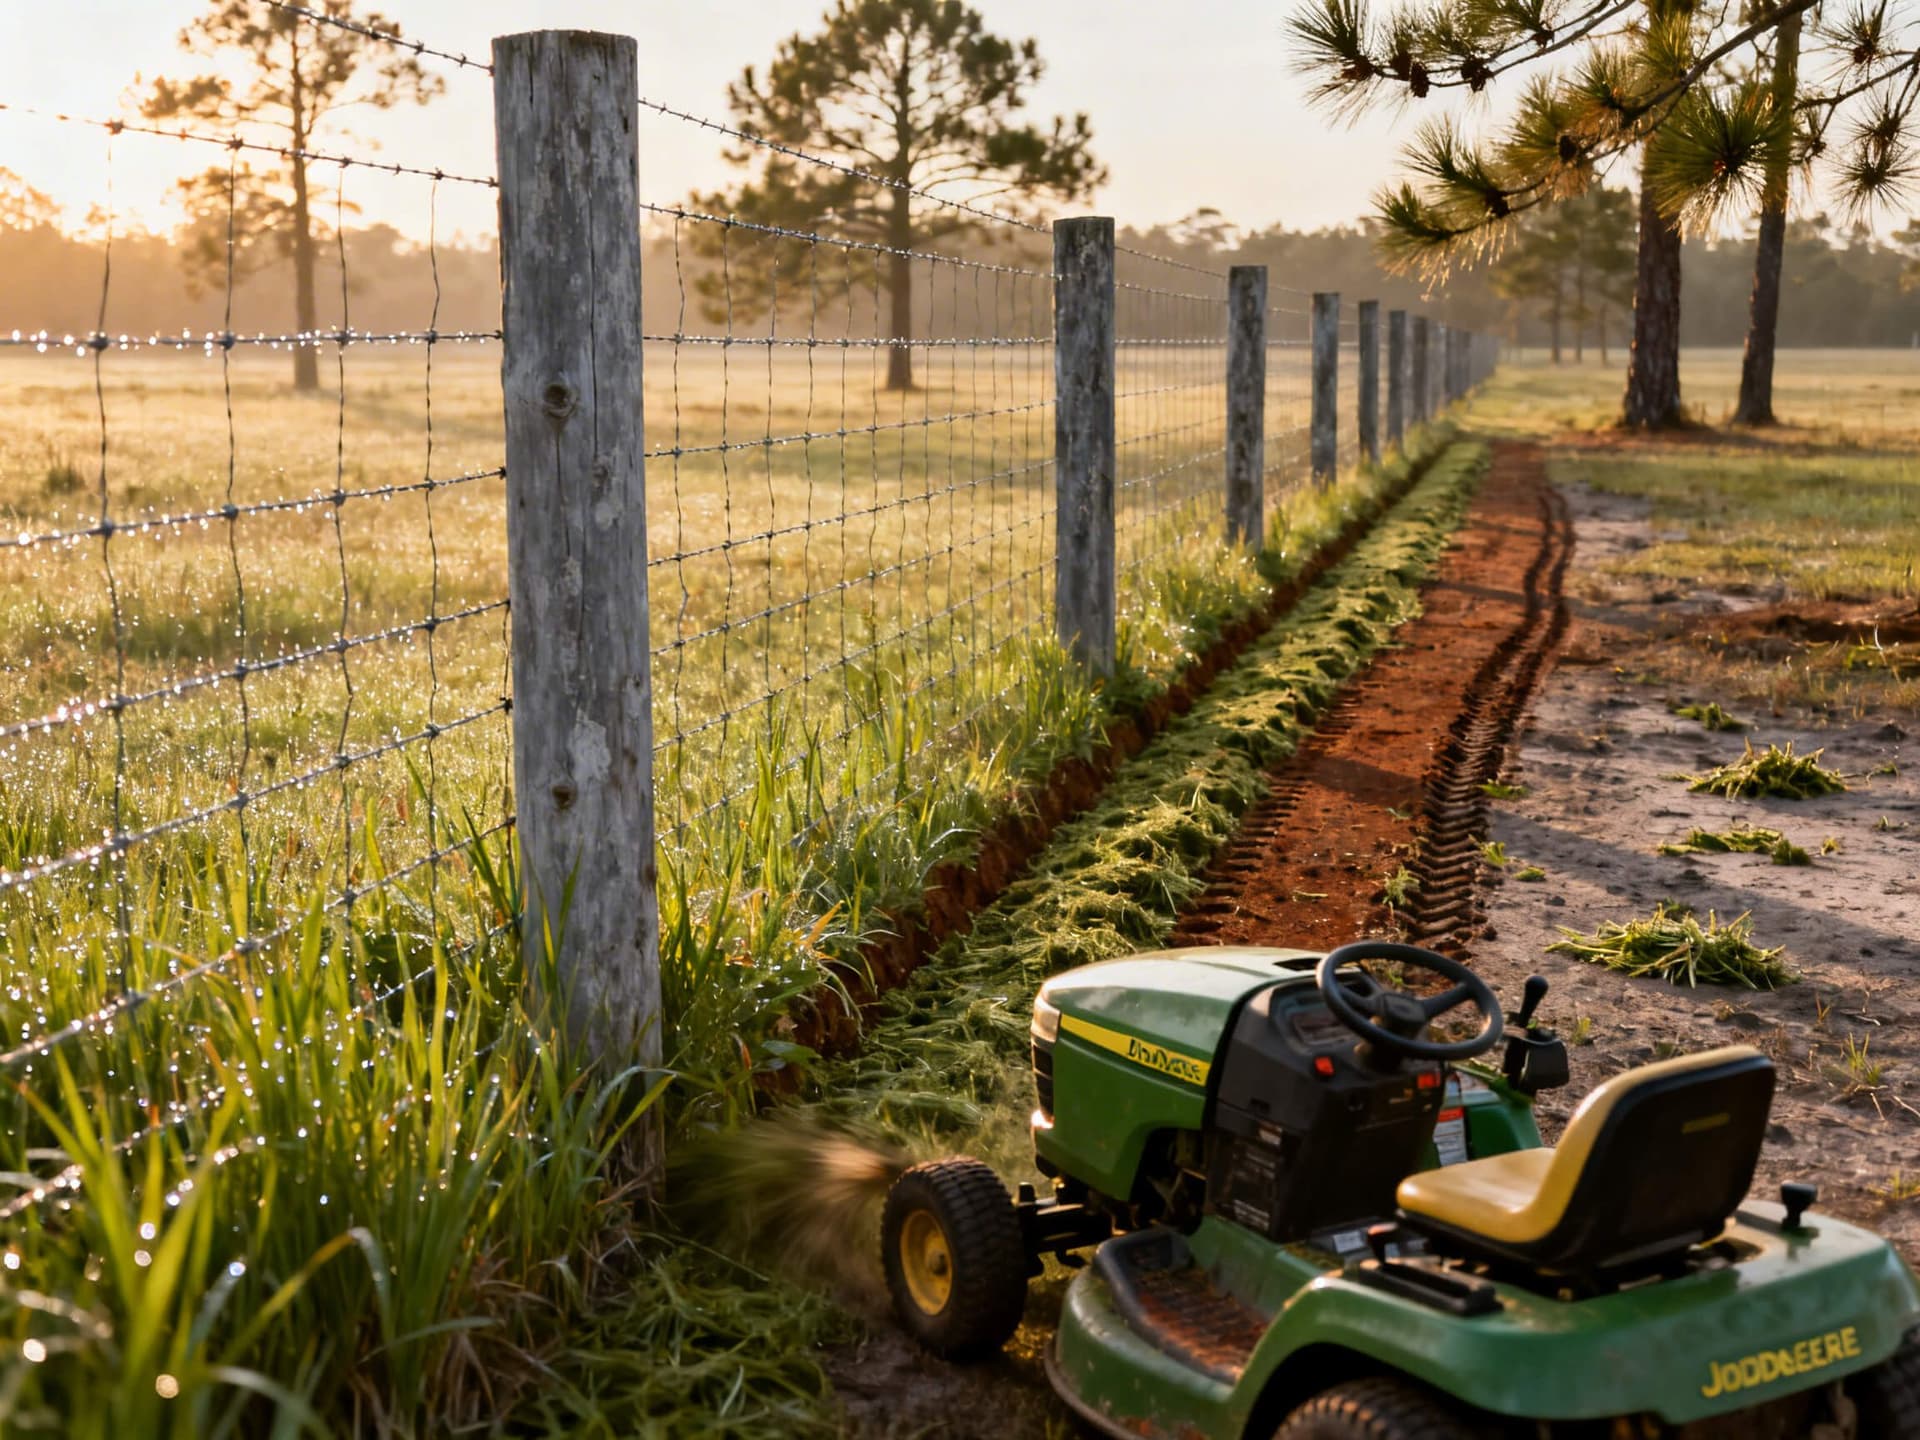
In the high-growth climate of the Florida Panhandle, vegetation is your fence’s number one enemy. You must clear a path at least three to four feet wide along your entire fence line. This prevents grass and weeds from touching the wire and shorting out the circuit.
Selecting the Right Energizer and Posts
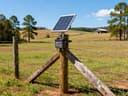
Your energizer, or charger, is the heart of your fence. The power it needs is measured in joules. Match the joule rating to your fence's total length and the type of animal you’re containing. For remote pastures in South Alabama where running power is difficult, modern solar chargers with lithium batteries are a game-changer, often running for weeks without direct sun.
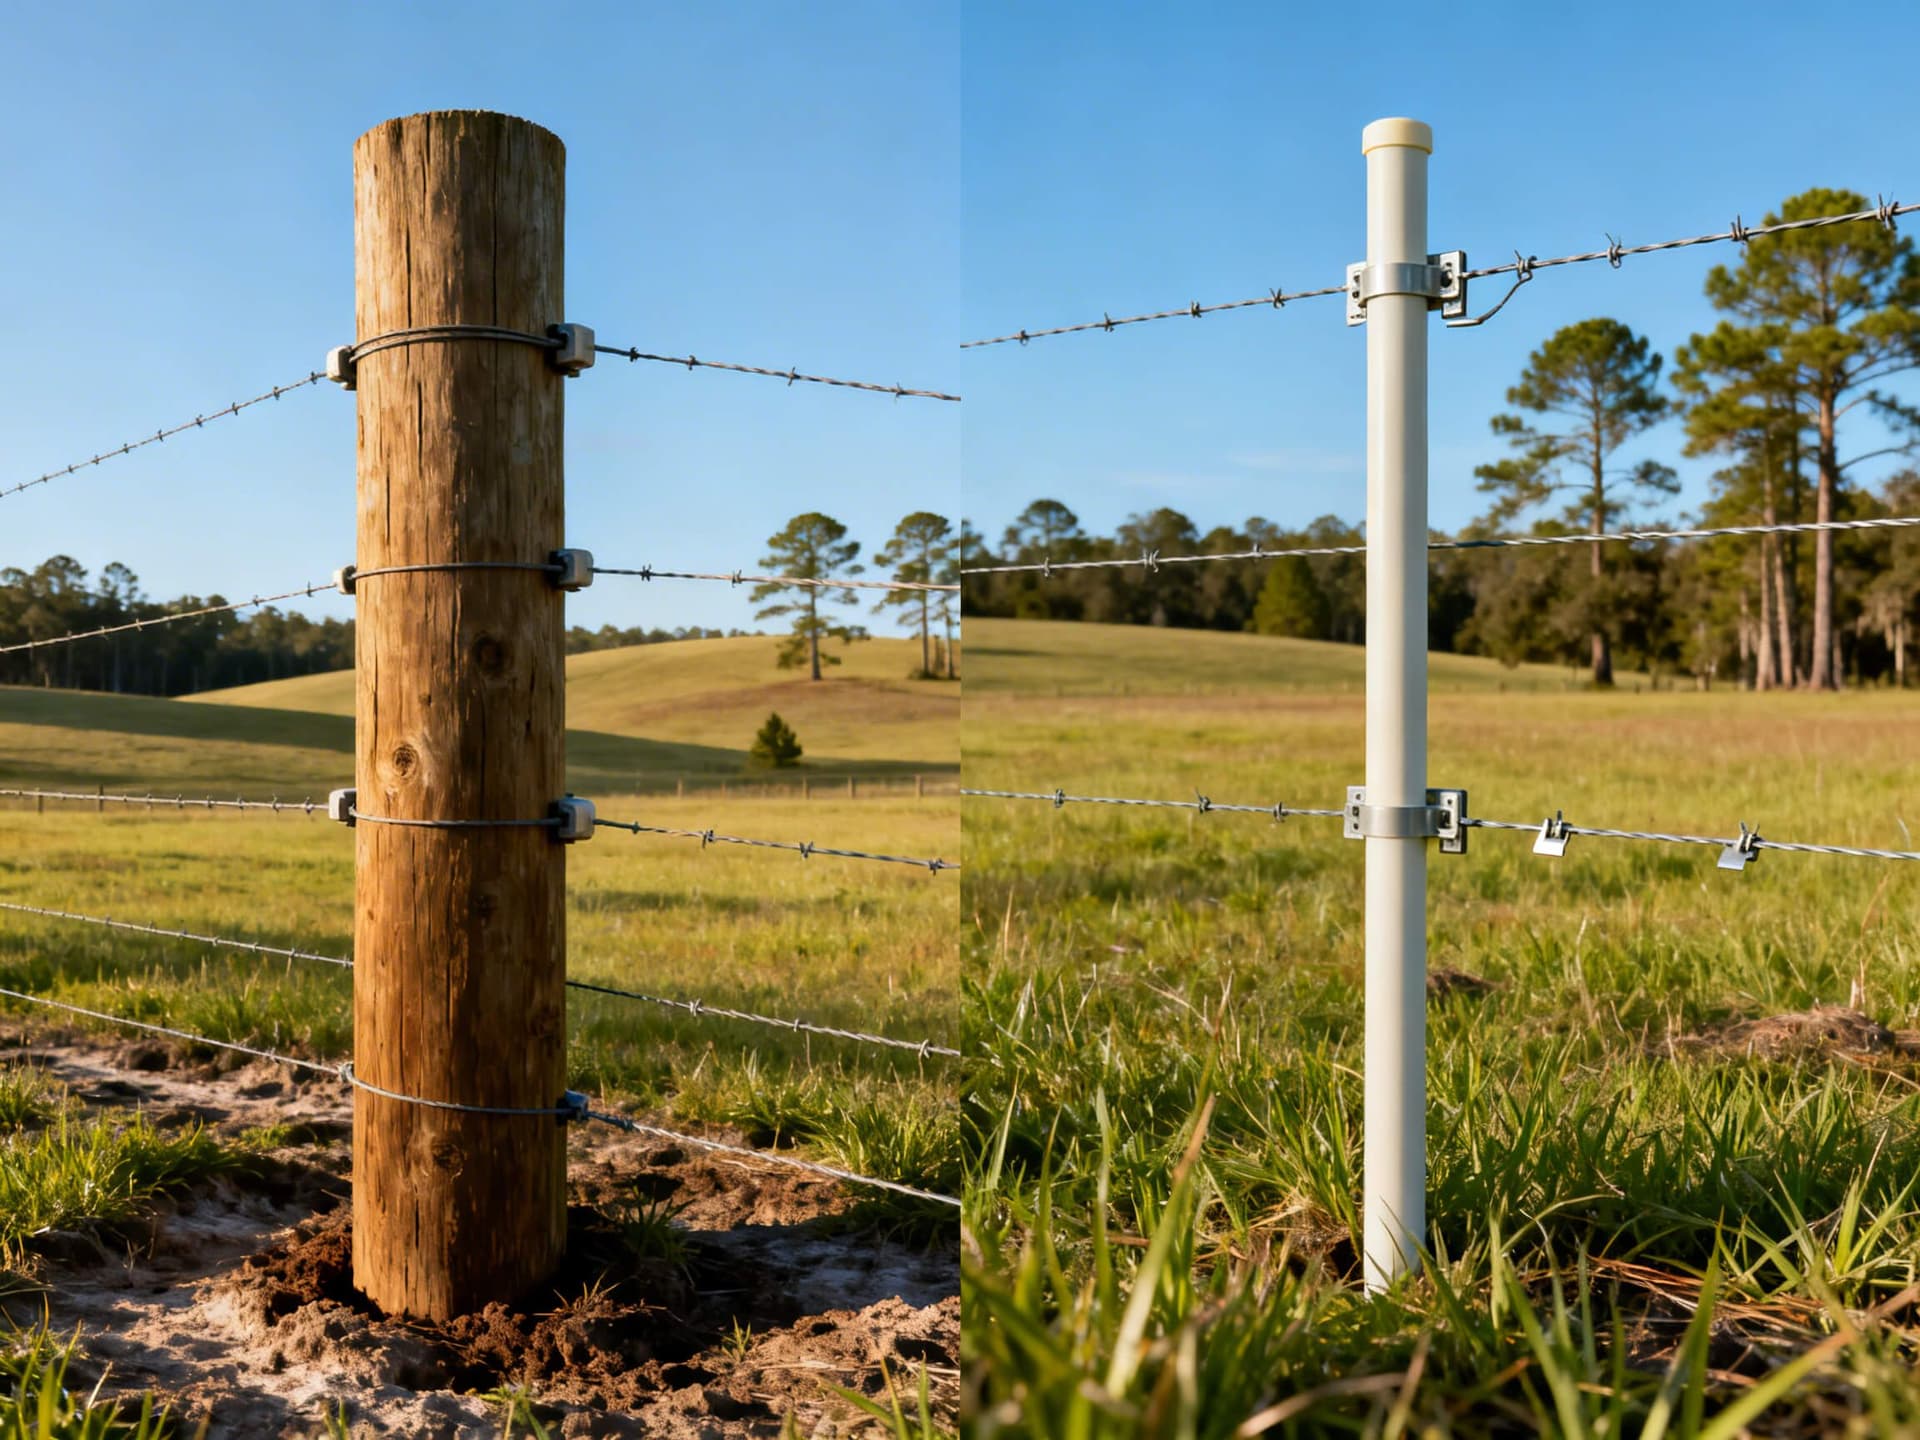
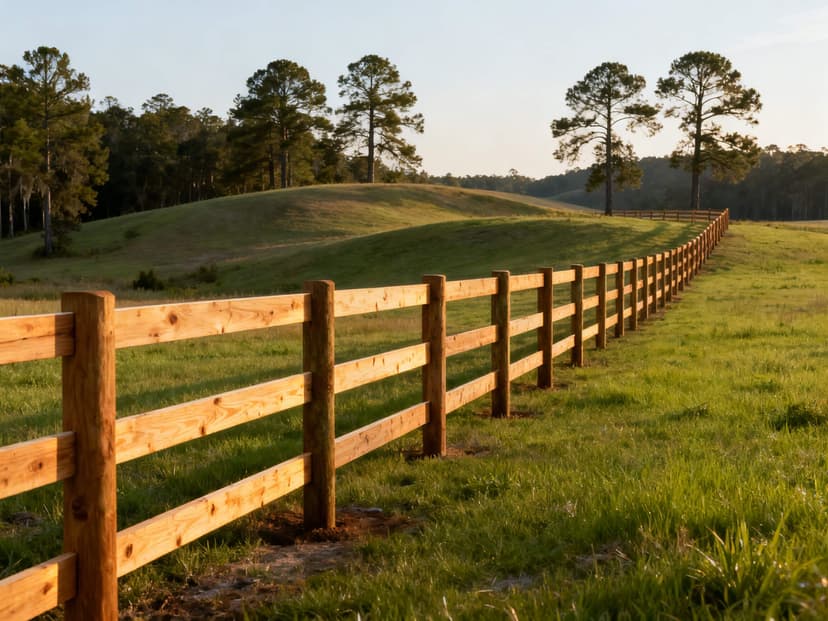
When choosing an electric fence post for cattle, you have two main options. Traditional wood posts are excellent for permanent perimeters, but modern fiberglass step-in posts are lightweight and perfect for temporary or rotational systems. They are easy to install and move as your grazing needs change.
Comparing High-Tensile vs. Poly Wire for Cattle
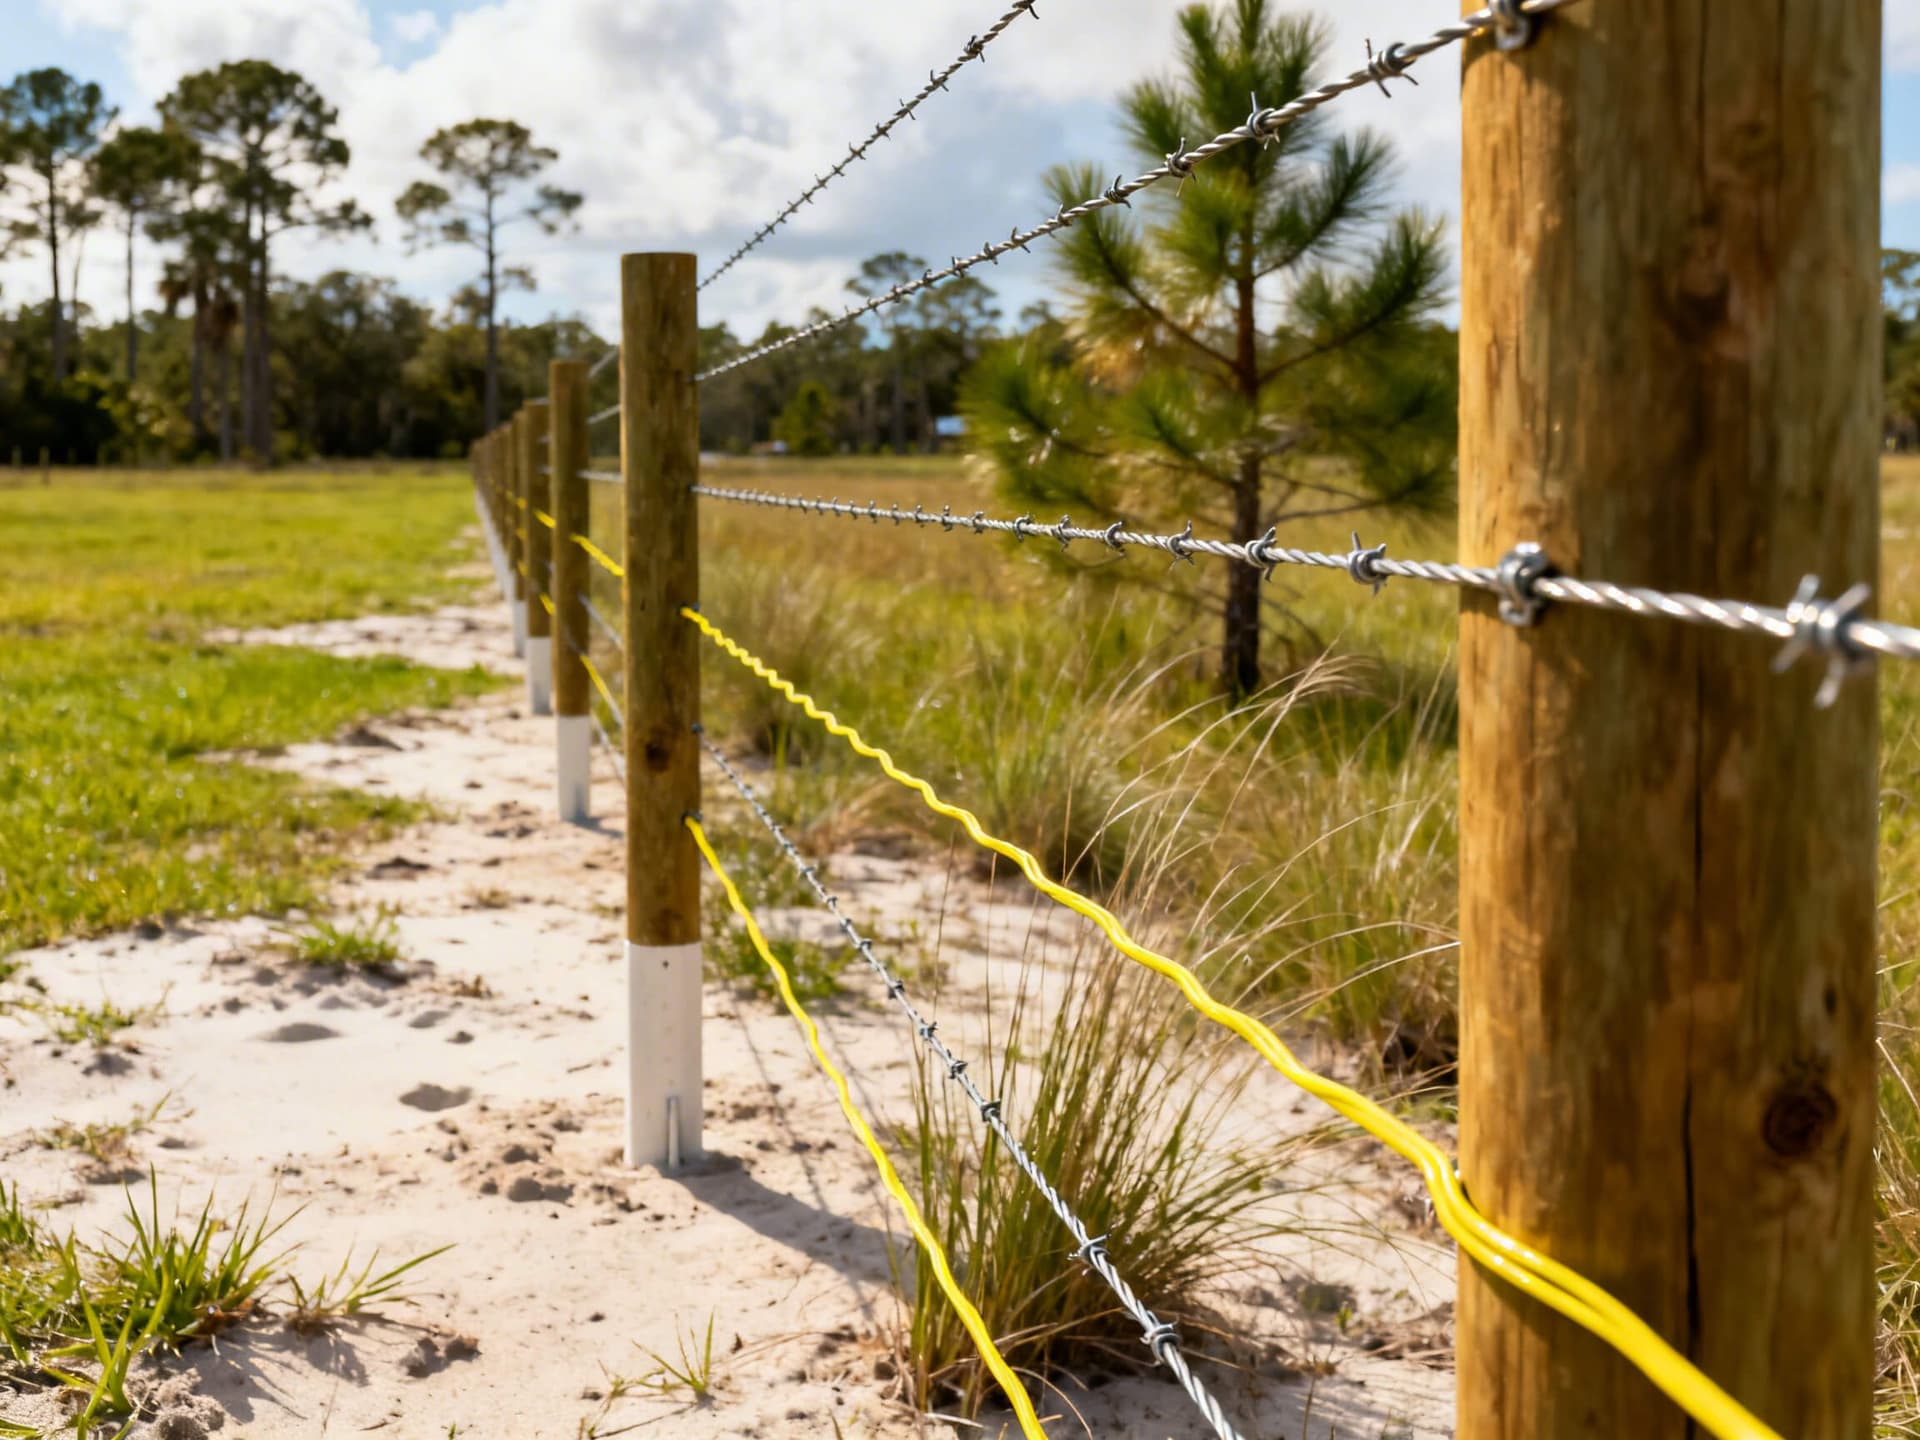
The type of electric fence wire for cattle you choose depends on permanence. High-tensile steel or aluminum wire is incredibly durable and low-maintenance, making it the best choice for permanent boundary fences.
For temporary paddocks, poly wire or poly tape is ideal. It’s highly visible to livestock, easy to work with, and simple to re-spool and move. While not as strong as steel, its flexibility is a major advantage for rotational grazing setups.
The Step-by-Step Installation Process
With your plan in place and materials on hand, you’re ready to begin the installation. This is where attention to detail really pays off. Following these steps methodically will ensure you build a safe, effective, and long-lasting electric fence.
Installing Posts and Insulators
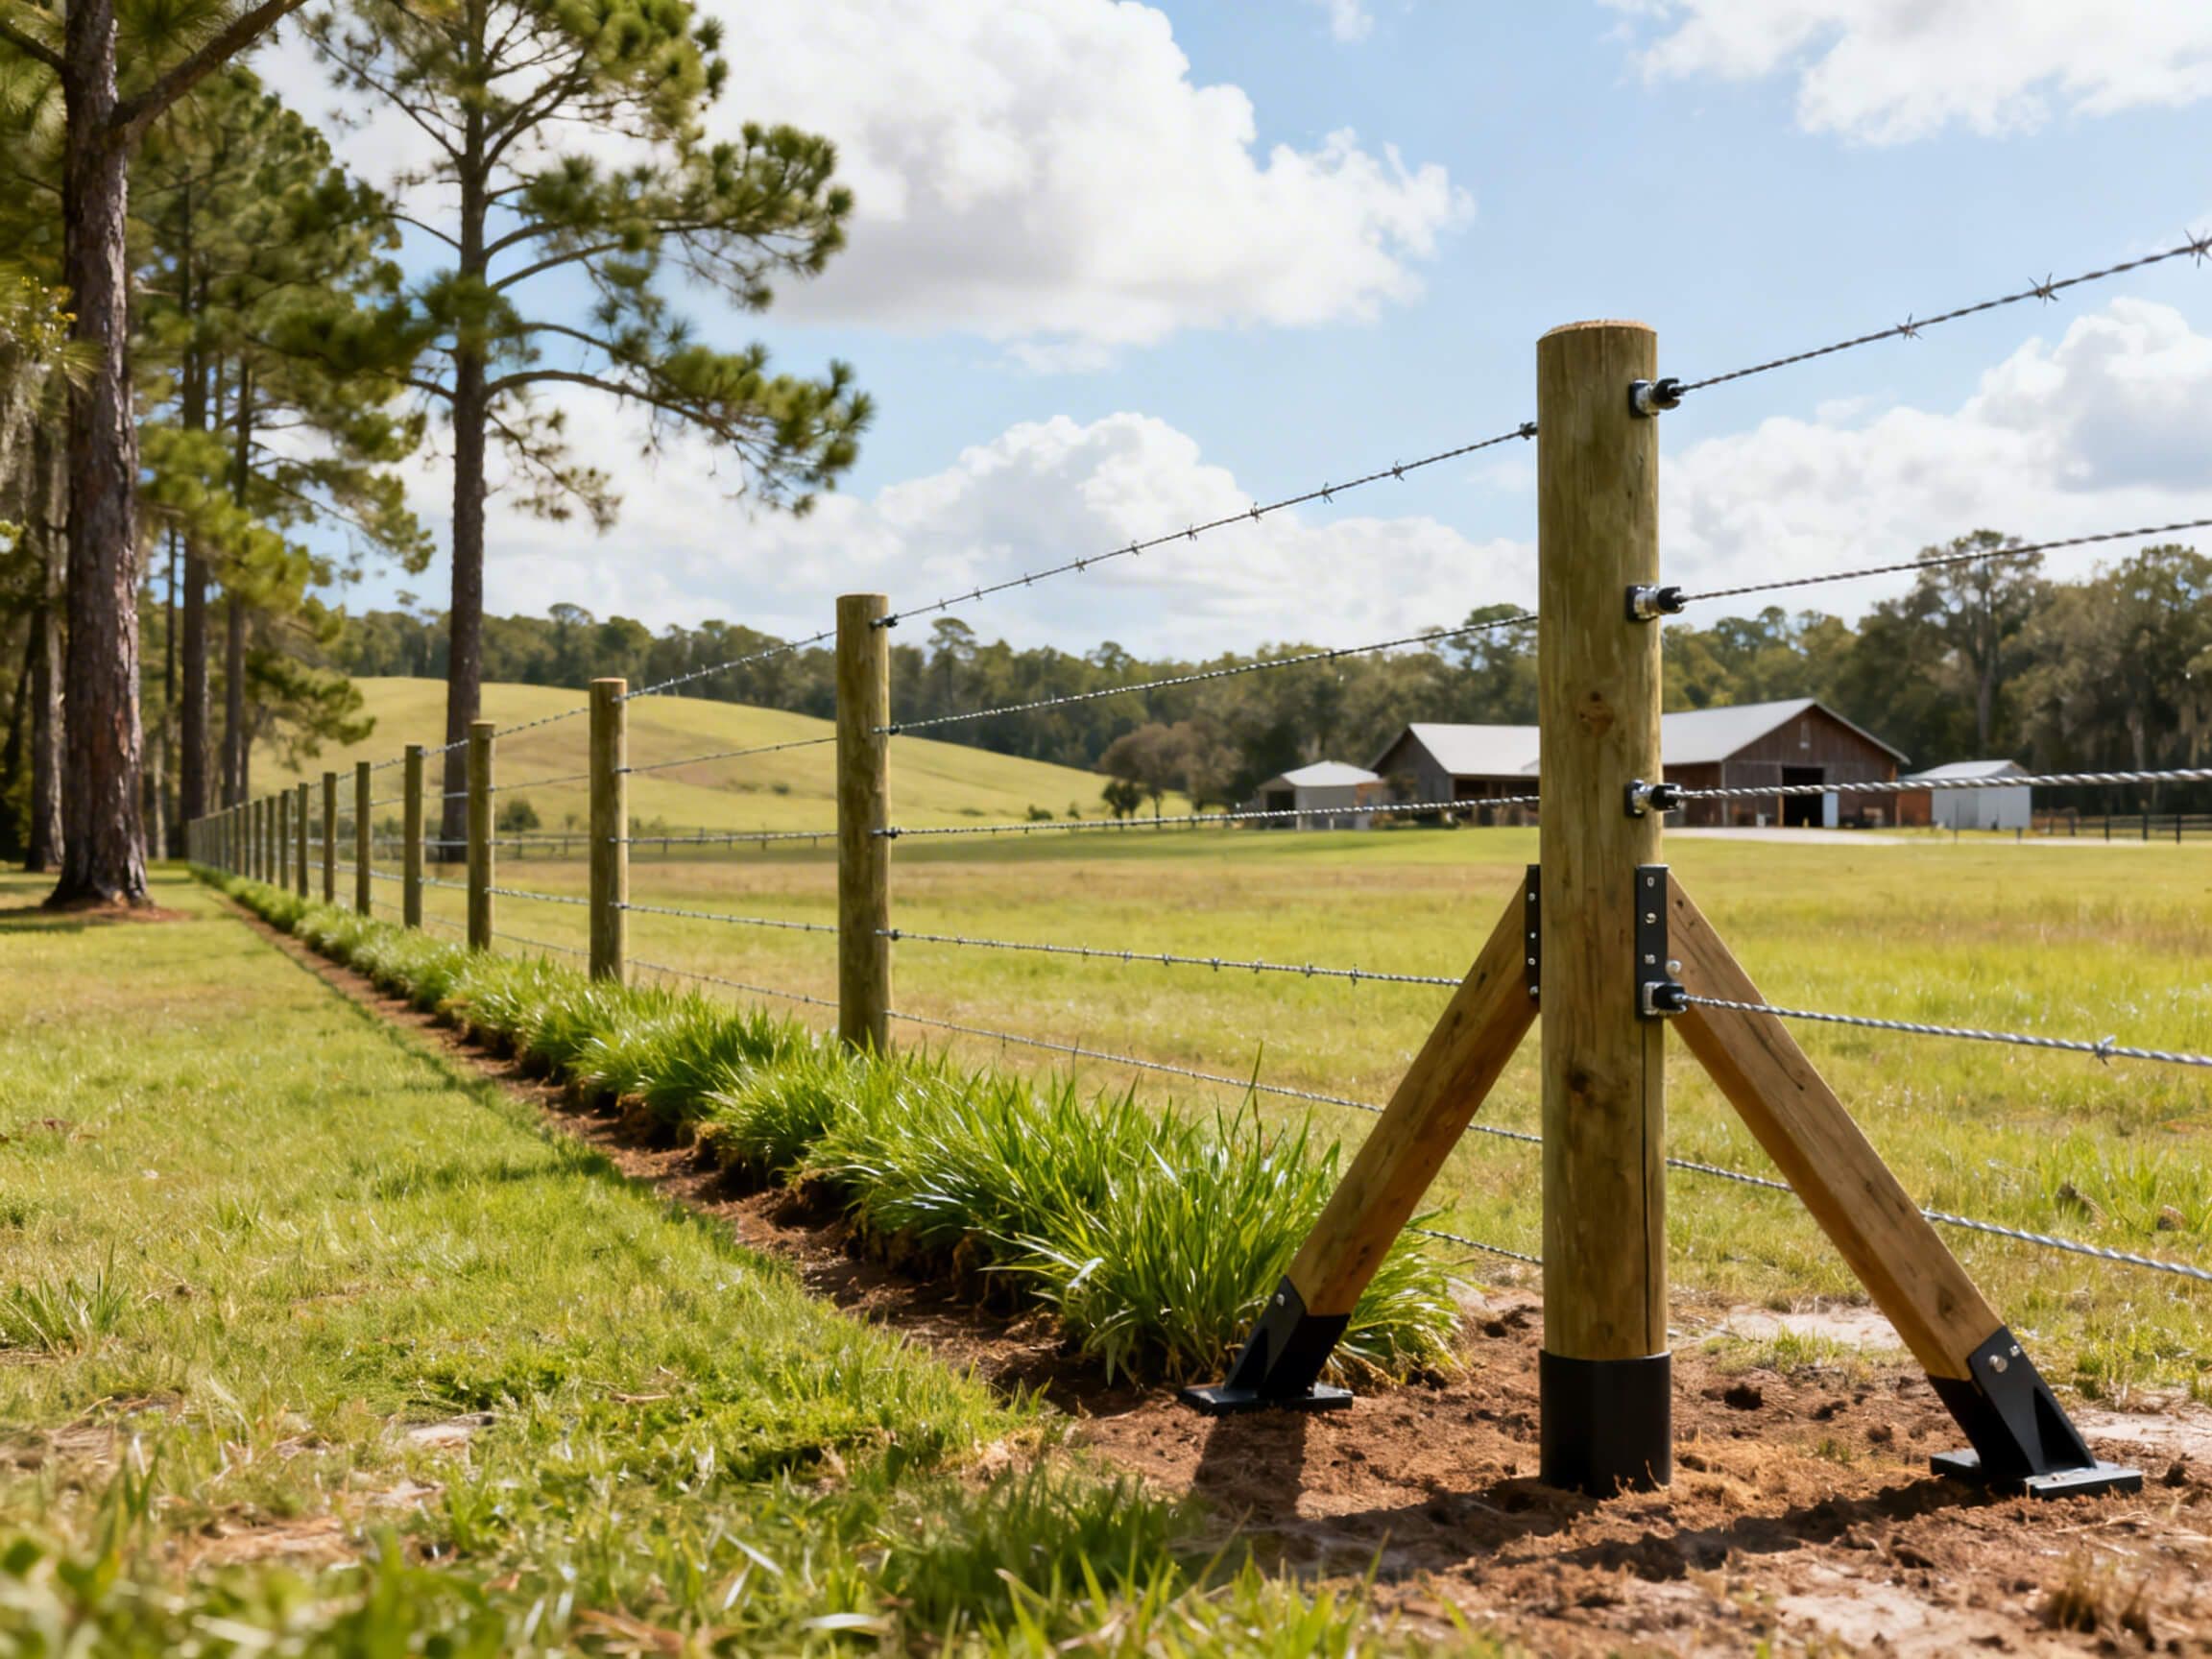
Post spacing is key to a sturdy fence. For temporary fiberglass posts, a spacing of about 40 feet is usually sufficient. For permanent wood posts supporting high-tensile wire, you can space them up to 50 feet apart, but you will need strong H-braces at all corners and ends.
Insulators prevent the electric current from grounding out on the posts. In humid climates, choose high-quality plastic or porcelain insulators that can resist moisture and UV degradation. Attach them securely to your posts at the desired heights for your wires.
The Critical Step: Proper Electric Fence Grounding for Southeast Soils
This is the most important—and most often overlooked—part of any electric fence installation. Your fence is a circuit; the shock an animal feels is the electricity traveling through its body to the soil and back to the energizer via the ground rods. If the ground system is poor, the shock will be weak.
In the sandy or hard clay soils common across South Georgia, a single ground rod is not enough. A good rule of thumb is to install at least three feet of ground rod per joule of energizer output. This usually means installing three 6-foot galvanized or copper ground rods, driven deep into the earth and spaced at least 10 feet apart. For exceptionally dry or sandy areas, an advanced setup like a dual hot/ground wire system is necessary to guarantee a good shock Kencove, 2025.

Stringing and Tensioning a 2-Strand Fence for Cattle
A 2 strand electric fence for cattle is a very effective and economical setup. For most cattle breeds, run the bottom wire at 18-20 inches off the ground and the top wire at 36-40 inches. This spacing contains the animals while also making it likely they contact a wire when investigating the fence.
If you are using the advanced hot/ground wire system, make the top wire "hot" (connected to the energizer's positive terminal) and the bottom wire the "ground" (connected to your ground rods). When an animal touches both wires, it completes the circuit directly, bypassing poor soil conditions entirely and receiving a full-power shock.
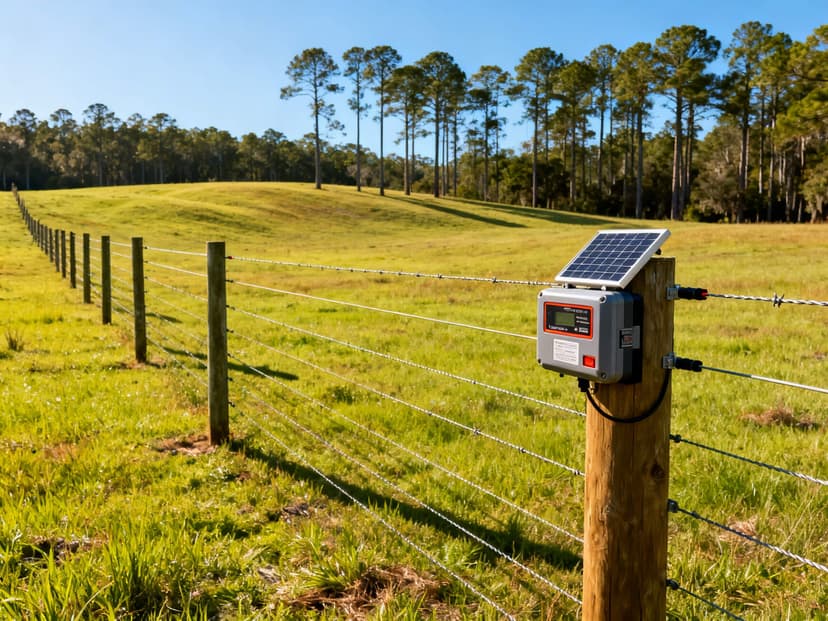
Connecting the Energizer and Testing the System
With your wires strung, it’s time for the final electric fence setup. Connect your "hot" wire(s) to the positive (red) terminal on your energizer. Then, connect your ground rods to the negative (black) terminal using insulated wire and proper clamps. Never plug in the energizer until all connections are made.
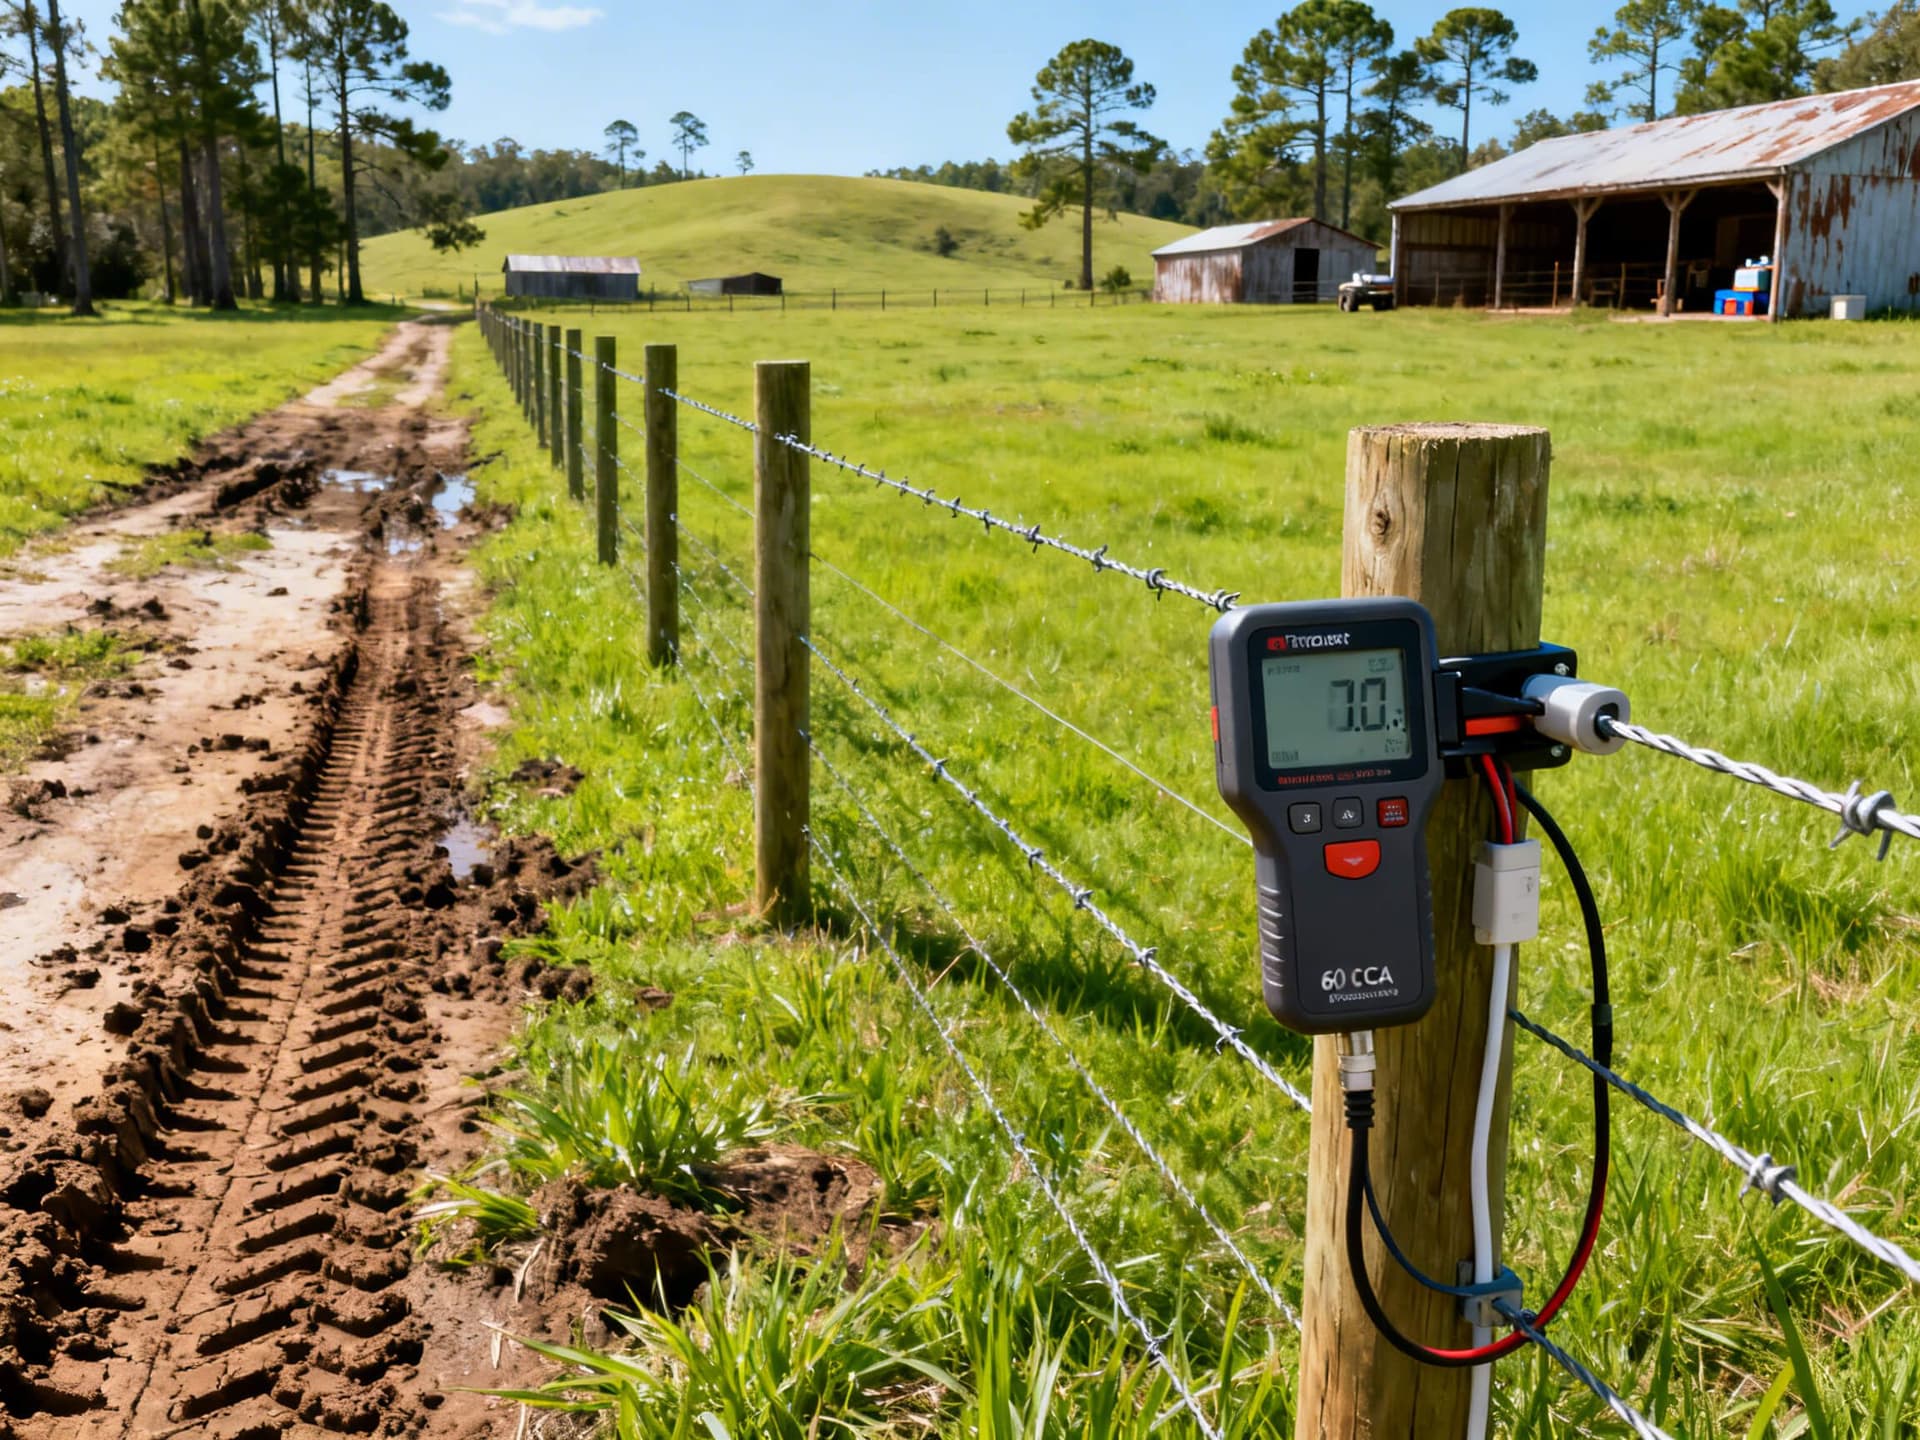
Once connected, turn on the energizer and test the fence. Use a digital fence tester or fault finder, not a blade of grass. Test the voltage near the energizer, then walk the line and test it again at the furthest point. A significant voltage drop (more than 2,000 volts) indicates a short circuit from vegetation or a poor ground connection that needs to be fixed.
Maintenance and Safety in a Humid Climate
Need Help?
Get expert fencing advice and free quotes. Our team is ready to help with your project.
Available Mon-Fri, 8am-6pm EST
In the Southeast, your work isn't done after the installation. The warm, humid climate means vegetation grows fast and can quickly compromise your fence's effectiveness. Regular maintenance is essential for reliable, year-round performance.
Managing Vegetation and Humidity-Related Issues
The best way to manage vegetation is to mow or spray an herbicide strip under your fence line regularly, especially during the spring and summer. Keeping this area clear is the single most important maintenance task you can perform. You should also periodically check your insulators for any algae or mold buildup, which can hold moisture and cause minor electrical shorts.
Troubleshooting and Regular Inspections
Create a simple routine to keep your fence in top shape. Walk your fence line at least once a month to look for problems. A simple checklist can help:
- Weekly: Check voltage with a digital tester. A drop tells you there's a problem somewhere.
- Monthly: Inspect ground rod connections for rust or corrosion. Ensure they are tight.
- After Storms: Walk the entire fence to check for downed tree limbs or debris that could be shorting out a wire.
Lightning Protection for Your Energizer
The tri-state area is prone to intense thunderstorms. A nearby lightning strike can easily travel down your fence line and destroy your expensive energizer. Installing a lightning diverter or arrestor is a small investment that offers crucial protection Kencove, 2025. It directs the massive electrical surge from a strike into a separate ground bed, saving your charger from damage.
Frequently Asked Questions About Electric Fencing for Cattle
How much does it cost to install an electric fence for cattle?
The cost varies based on length, materials, and terrain, but you can generally expect to pay between $2 and $6 per linear foot HomeAdvisor, 2025. A DIY project saves on labor, but a professional how to install electric fence for cattle service ensures the job is done right, especially regarding the critical grounding system.
What is the most common mistake when installing an electric fence for cattle in Florida?
The most common and costly mistake is improper grounding. The sandy and clay soils in Florida, from Quincy to Marianna, are poor electrical conductors when dry. Failing to install a sufficient ground rod system is the number one reason an electric fence fails to deliver an effective shock.
How many ground rods do I need for my electric fence?
You need a minimum of three 6-foot ground rods, spaced 10 feet apart. The rule of thumb for electric fence grounding is to have at least 3 feet of ground rod in the soil for every 1 joule of output from your energizer. In very dry conditions, you may need even more.
What is the best type of wire for a 2-strand electric fence for cattle?
For a permanent 2 strand electric fence for cattle, 12.5 gauge high-tensile galvanized steel wire is the best choice for durability. For temporary or rotational grazing setups, poly wire is better because it is more visible, lighter, and easier to move and re-spool.
Can you install an electric fence in sandy soil?
Yes, but you must use an advanced grounding technique. In sandy soil, the best method is to configure your wires with one "hot" and one "ground." This way, the animal completes the circuit by touching both wires, and you don't have to rely on the unreliable dry sand to carry the current.
Get Your Fence Built Right the First Time
A properly installed electric fence offers an affordable and flexible way to manage your cattle. Success comes down to using the right materials and, most importantly, creating a robust grounding system that is tailored to your local soil conditions. This ensures your fence delivers a reliable, psychological barrier that keeps your herd safe.
If a DIY project feels overwhelming or you want to guarantee a fence built to last for decades, it’s time to call in the experts. Contact Bomann Fencing for a professional agricultural fencing consultation in the Florida Panhandle and the surrounding tri-state area, including communities like Andalusia, AL, and Naylor, GA. We're farmers serving farmers, and we build it right.
Share this article
Related Posts


Need Help?
Get expert fencing advice and free quotes. Our team is ready to help with your project.
Available Mon-Fri, 8am-6pm EST
Related Posts

Solar Electric Fence Energizer: Cost vs. Long-Term Value
The Financial Breakdown: Upfront Investment vs. Lifetime Value Choosing the right energizer starts with understanding th...
How to Choose the Best Electric Fence Charger for Cattle
Matching Energizer Power to Your Cattle & Fence Your electric fence is a psychological barrier, not a physical one. To b...
Wood Farm Fence: Pine vs. Cedar for Your Southeast Farm
The Main Contenders: A Look at Two Popular Fencing Woods When you're building a fence to protect your livestock and defi...
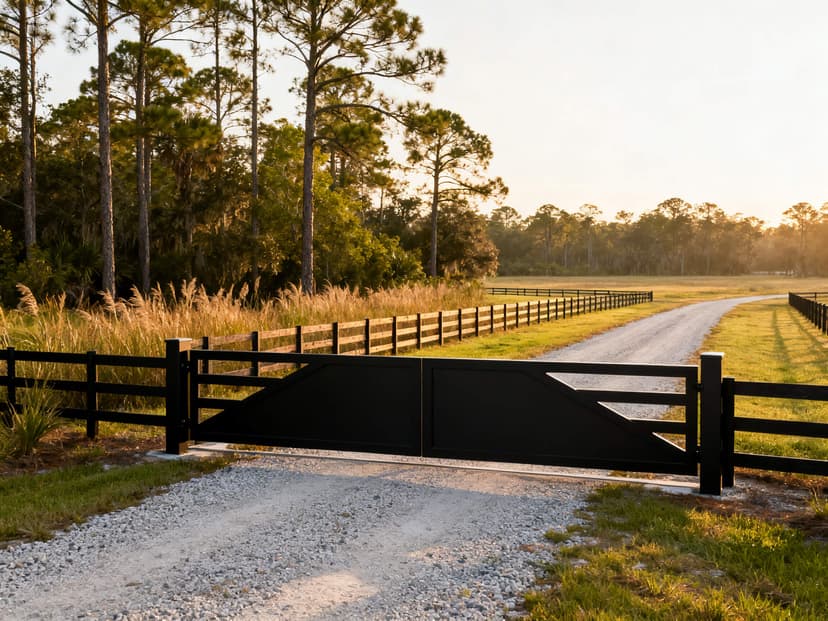
Farm Driveway Gate: A Guide to Planning & Automation
Key Planning Decisions for Your Farm Entrance Gates Manually opening and closing a heavy farm gate wastes valuable time ...
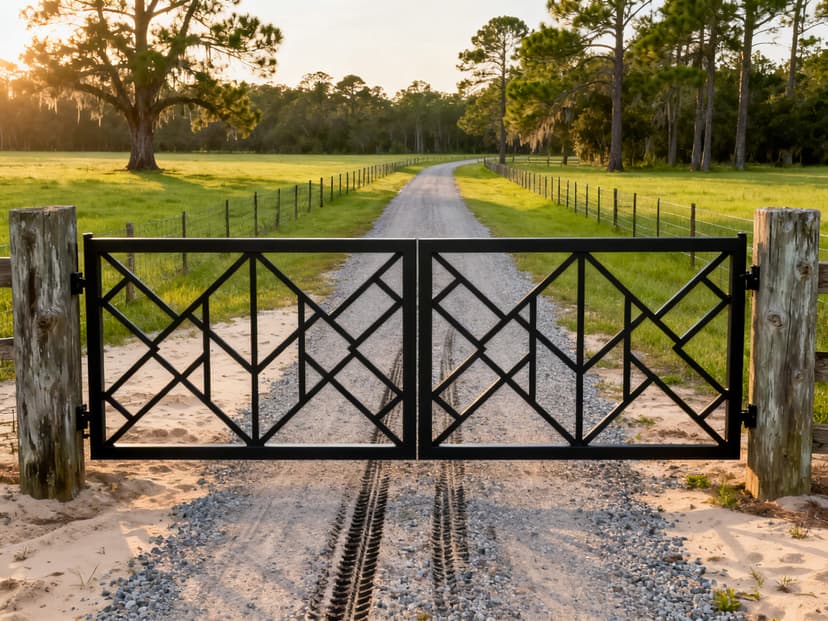
Custom Farm Gates: A Farmer’s Design & Planning Guide
A Farmer’s Guide to Designing and Planning Custom Farm Gates Choosing the right custom farm gate is a major decision for...

