7 Essential Steps for Secure Farm Fence Installation
A secure, long-lasting fence starts with a plan. Whether you are containing livestock, protecting crops, or marking boundaries, thoughtful farm fence installation delivers durability, safety, and low lifetime cost. Use these seven steps to move from layout to final walkthrough with confidence.
Step 1: Survey the Land and Verify Boundaries
- Map the perimeter. Stake the line with string or marking paint, then confirm property limits and corner points.
- Call before you dig. Locate underground utilities and irrigation lines to avoid hazards and change orders.
- Read the terrain. Note slopes, low spots, and drainage paths. Adjust line and post depth to avoid erosion and frost heave.
- Spot obstacles. Flag rock seams, roots, and structures so crews arrive with the right tools to handle them.
Step 2: Identify High-Priority Zones
Tie the layout to how the farm actually runs.
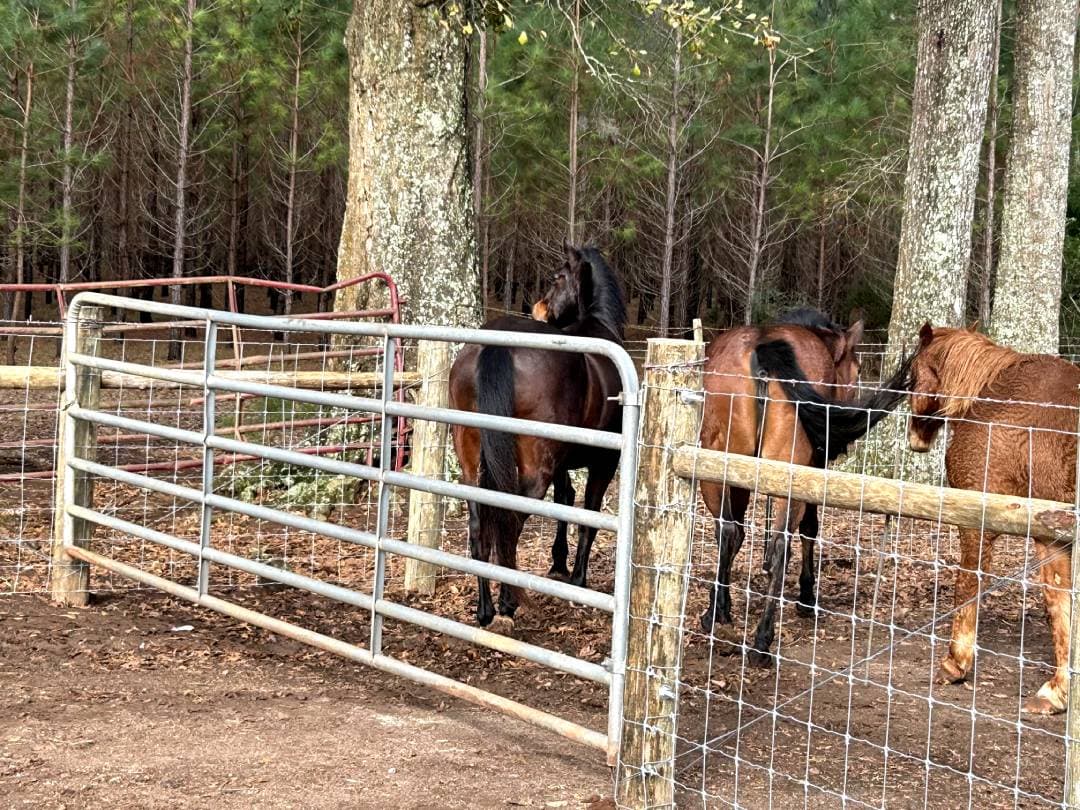
- Livestock containment: Pasture perimeters, cross-fence for rotational grazing, and pressure areas near water, shade, and mineral sites. For professional containment solutions, explore our Livestock Fence Installation
service. - Crop protection: Edges bordering woods or wildlife corridors.
Step 3: Design Gates and Traffic Flow
Need Help?
Get expert fencing advice and free quotes. Our team is ready to help with your project.
Available Mon-Fri, 8am-6pm EST
Good gates make daily work faster and safer.
- Place for efficiency. Align with lanes, roads, and water points to prevent bottlenecks.
- Size for equipment. Give tractors, trailers, and delivery trucks room to swing.
- Build for security. Use heavy posts, full-length hinges, reliable latches, and, if needed, keyed or keypad access. Learn how our Farm Gate Installation
experts ensure every entry point remains safe and functional for years. - Tie in the fence. Carry wire or boards cleanly to the hinge and latch posts so animals cannot slip through.
Step 4: Select Materials for Species and Climate
Choose components that match pressure, weather, and budget.
- Wire systems: Woven/fixed-knot for calves, sheep, and goats, with mesh openings sized to prevent heads and kids from slipping through.
- High-tensile smooth or barbed for long runs and cattle perimeters. Proper High Tensile Fence Installation helps maintain consistent tension and minimizes post shifting over time.
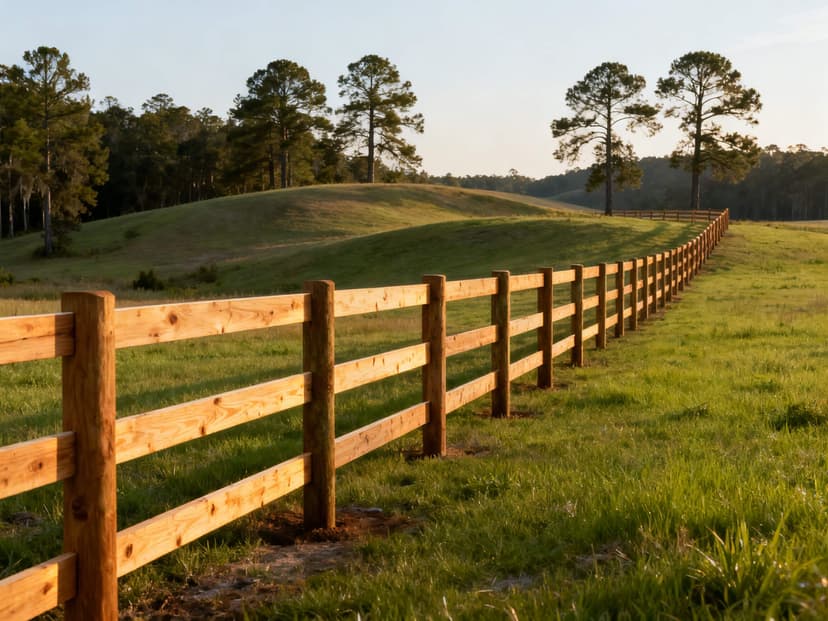
- Posts: Pressure-treated ground-contact wood or galvanized steel.
- Hardware: Class 3 galvanized wire, corrosion-resistant staples/clips, quality brace pins and diagonal wire/rod.
Step 5: Stage Tools, Crew, and Safety
- Essential tools: Post driver or auger, tampers, level, tape/laser, wire stretchers, crimpers, grinders/saws, and PPE.
- Safety basics: Eye/hand/foot protection, utility clearances, secure material staging, and clear communication signals around equipment.
- Site prep: Mow a clean corridor and stage posts, braces, gates, and wire rolls in build order to keep production moving.
Step 6: Plan for Maintenance and Inspections
Longevity depends on light, regular care.
- Schedule: Walk the line seasonally and after major storms.
- Vegetation control: Keep a two- to three-foot clear strip to prevent shorts on hot wires and moisture against wood. If you notice sagging sections or leaning posts, our Farm Fence Repair team can restore your fence quickly and affordably.
Step 7: Build the Line, Start to Finish
1) Clear and grade the path, maintaining natural drainage.
2) Set corners and ends first. Use machine-driven posts where possible, build true H-braces with correct spans, diagonals, and anchors.
3) Pull a guide wire to establish straight, level reference.
4) Install line posts to the specified spacing and depth, keeping them plumb.
5) Hang wire or rails.
- For wire, tension to manufacturer spec, terminate with proper knots or crimps, and fasten with staples/clips without crushing galvanization. You can also explore our Farm Fence Installation service for precision-built fences that meet these exact standards.
6) Install gates on oversized hinge posts, check swing and latch alignment, and add footing or pads in muddy areas.
7) Final walkthrough. Look for low spots, loose hardware, uneven tension, and gaps at gates or ground. Correct before demobilizing.
Conclusion
Secure, durable fence work is the result of careful surveying, smart zoning, right-sized materials, disciplined construction, and simple ongoing care. Follow this sequence and you will end up with a straight, tight perimeter that protects stock, crops, and time for years to come.
Share this article
Related Posts


Need Help?
Get expert fencing advice and free quotes. Our team is ready to help with your project.
Available Mon-Fri, 8am-6pm EST
Related Posts

Electric Fence Voltage for Cattle: A Farmer's Guide
Voltage vs. Joules: Getting the Power Right for Your Livestock When you're protecting your livelihood, getting your elec...

Solar Electric Fence Energizer: Cost vs. Long-Term Value
The Financial Breakdown: Upfront Investment vs. Lifetime Value Choosing the right energizer starts with understanding th...

How to Install Electric Fence for Cattle: A DIY Guide
Planning Your Fence & Choosing the Right Materials A reliable electric fence begins with a solid plan. Before you buy an...
How to Choose the Best Electric Fence Charger for Cattle
Matching Energizer Power to Your Cattle & Fence Your electric fence is a psychological barrier, not a physical one. To b...
Wood Farm Fence: Pine vs. Cedar for Your Southeast Farm
The Main Contenders: A Look at Two Popular Fencing Woods When you're building a fence to protect your livestock and defi...

